


How to Apply Press-On Nails at Home: Step-by-Step Guide for Beginners
Posted by SHOPIFY API

How to Apply Press-On Nails at Home: Step-by-Step Guide for Beginners
If you want to know how to apply press on nails at home without a salon visit, you're in the right place. Today's press-on nails are hand-painted, reusable, and look just as good as a $60 manicure. You can put them on in under 15 minutes, and with the right prep, they'll last up to two weeks.
This guide covers everything: prepping your natural nails, choosing between glue and adhesive tabs, the actual application, how long they last, common mistakes, and safe removal.
What You'll Need
Gather these supplies before you start:
- A set of press-on nails ([NailPop's hand-painted collection](https://www.nailpop.me/collections/floral-nails) is a good starting point)
- Nail glue or adhesive tabs (both work, we'll explain the difference)
- Cuticle pusher or orange stick
- Nail file (fine grit)
- Alcohol wipe or nail polish remover
- Small scissors (optional)
Step 1: Prep Your Natural Nails
This is the step most people skip, and it's the reason their press-ons pop off after two days.
Remove any old polish first. Wash your hands with soap and dry them completely. Any moisture left on your nails will weaken the glue bond.
Push your cuticles back gently with a cuticle pusher or orange stick. You don't need to cut them, just push them back so the nail surface is clean and flat.
Finish by wiping each nail with an alcohol wipe. This strips away leftover oils and gives the adhesive something to grip.
Step 2: Size Your Press-Ons
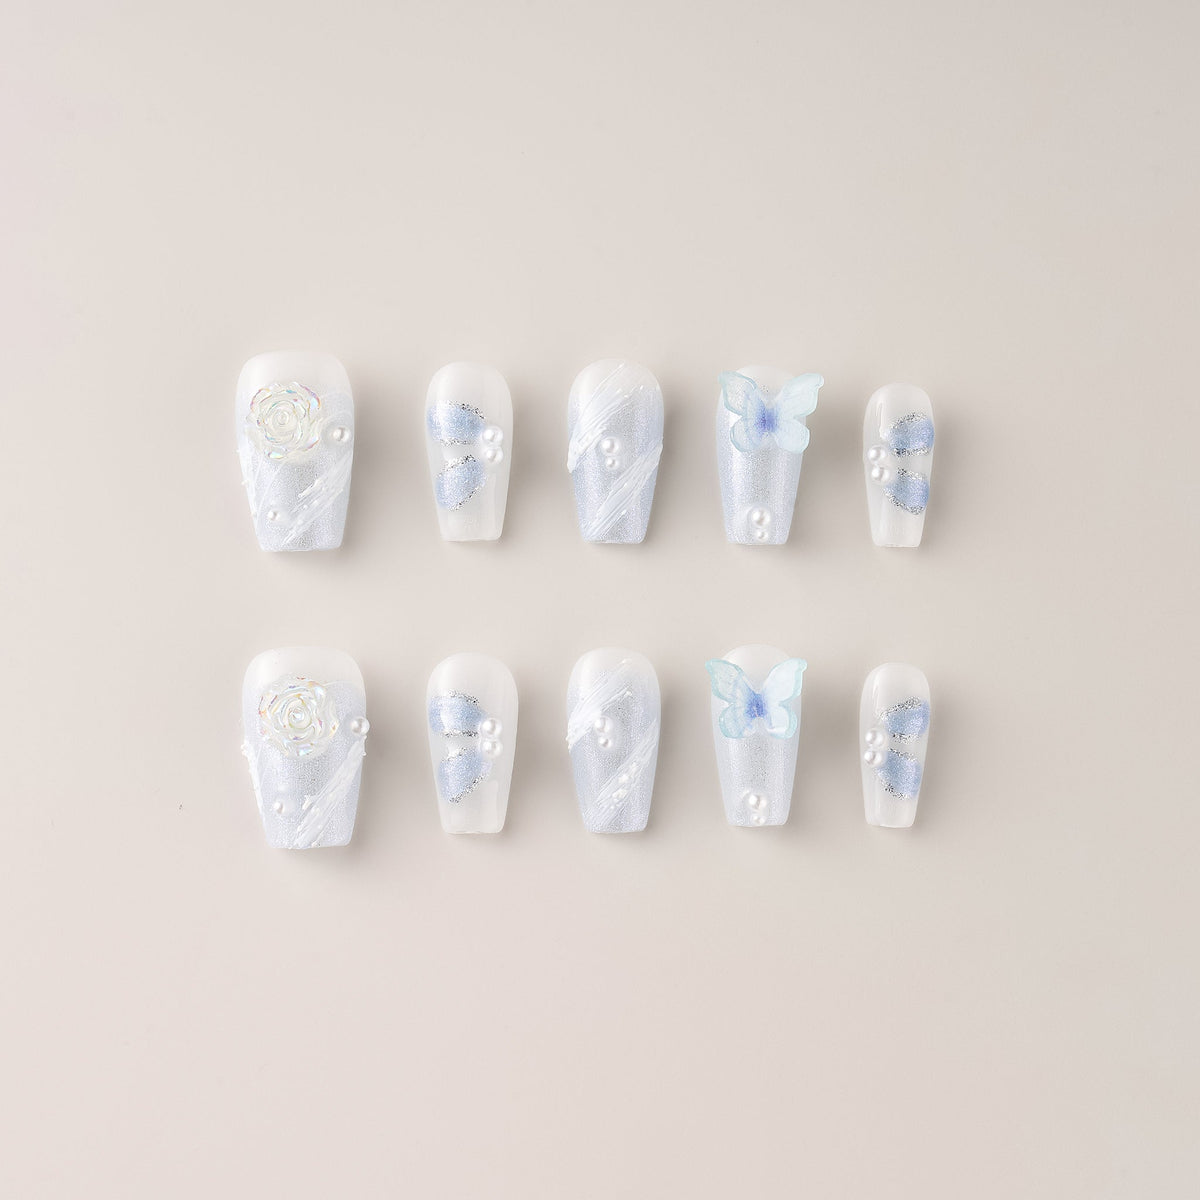
Lay out all your press-on nails and match them to your natural nails. Most sets include 12 sizes per hand, so there's a fit for every finger.
Hold each press-on against your nail to check the width. It should cover your nail side to side without overlapping onto your skin. If it's slightly too wide, file the edges down with a fine-grit nail file.
Size all 10 nails before you start applying. Once you have glue on your fingers, sorting through sizes gets messy fast.
Step 3: Choose Your Application Method
Two ways to attach press-on nails:
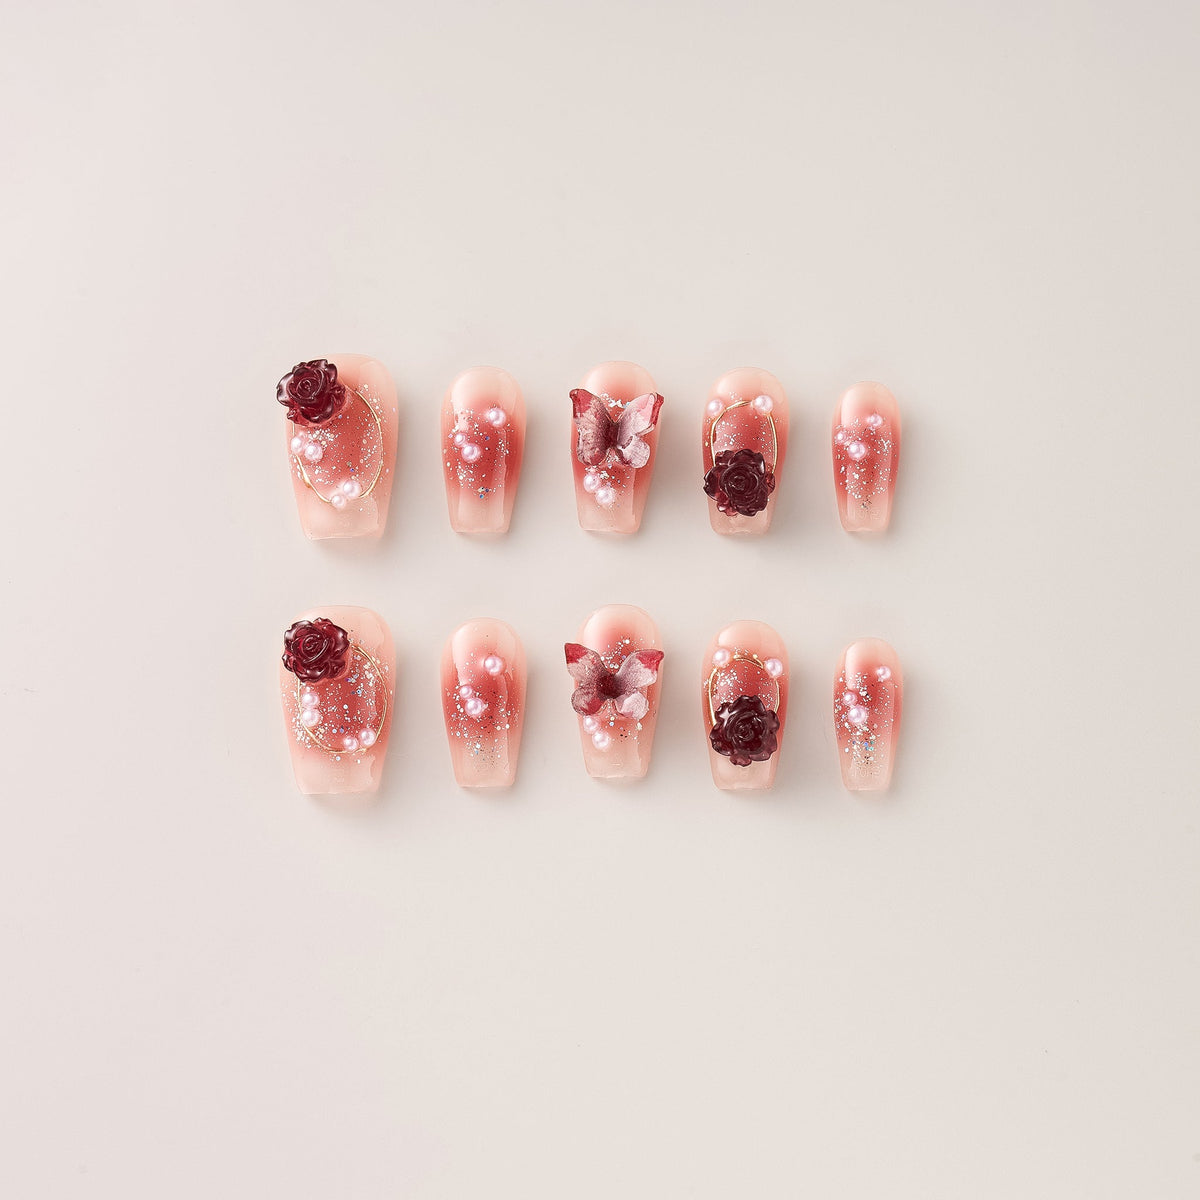
**Nail glue** gives the strongest hold and lasts 1 to 2 weeks. You apply a thin layer to the back of the press-on and a small drop on your natural nail. Best for long-term wear.
**Adhesive tabs** are pre-cut sticky strips that press onto your nail. No mess, no damage to your natural nails, and they last 3 to 7 days. Good if you like switching your nails every few days.
For this guide, we'll use nail glue since it gives the longest wear.
Step 4: Apply at a 45-Degree Angle
Take your first press-on and apply a thin line of glue along the center of the back. Add a small drop of glue to your natural nail.
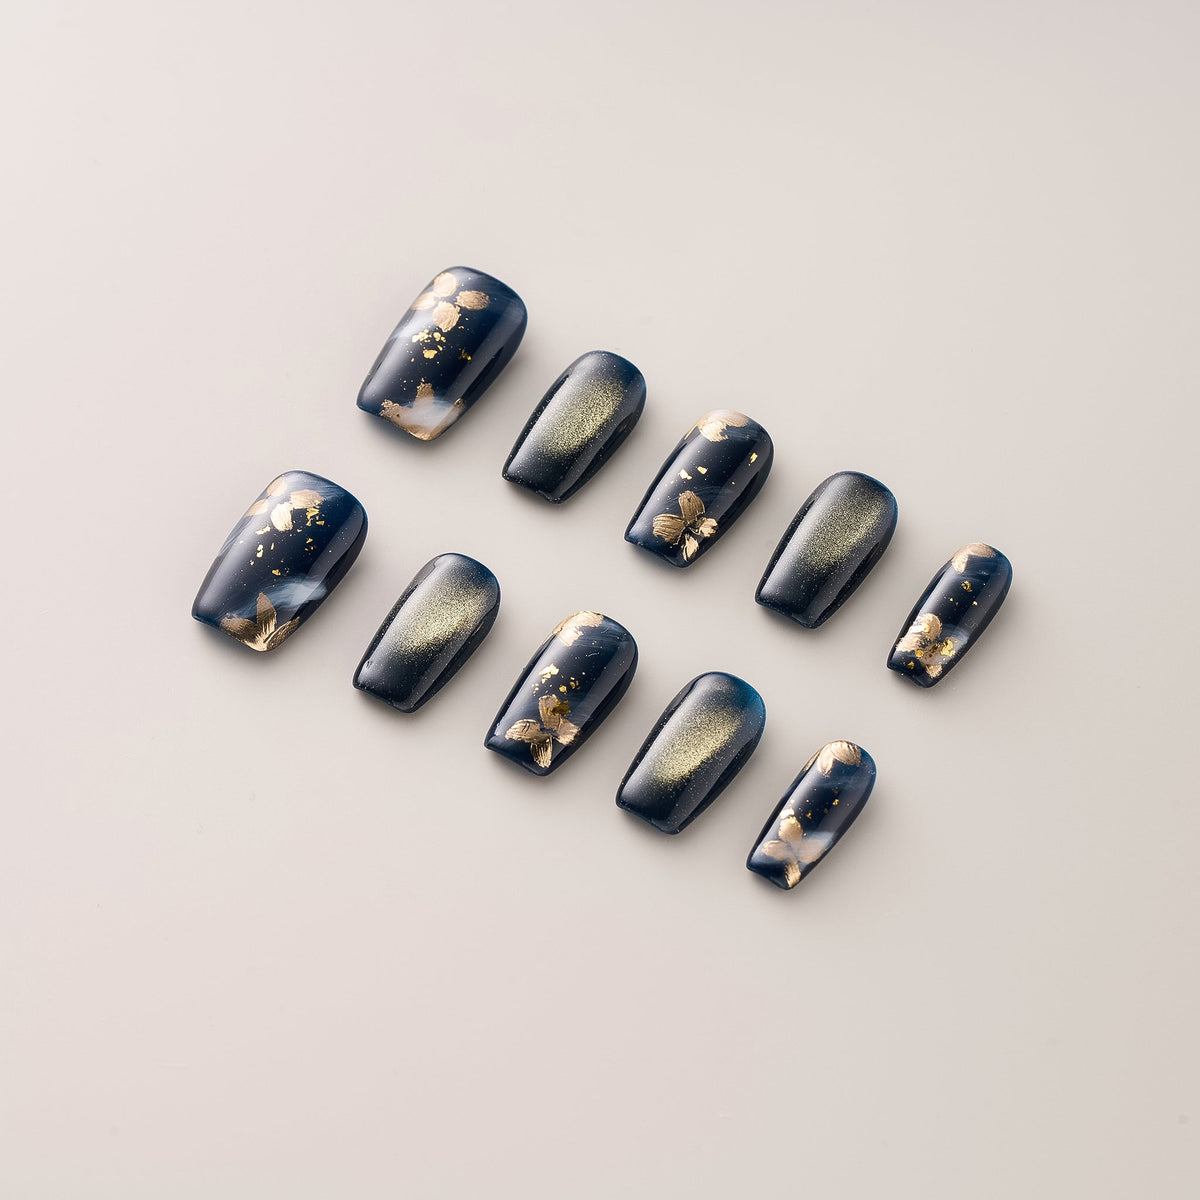
Hold the press-on at a 45-degree angle with the cuticle edge tilted down. Place the bottom edge against your cuticle first, then slowly lower the rest of the nail onto your nail bed. Starting at this angle keeps air bubbles from getting trapped underneath.
Step 5: Press and Hold
Once the press-on is flat against your nail, press down firmly. Hold for 30 seconds. Don't rush this part. The pressure activates the glue and sets the bond.
Press firmly in the center first, then work along the edges to seal the sides. If glue squeezes out, wipe it away with a tissue before it dries.
Repeat for each nail. Work one hand at a time so you can use your free hand to press and hold.
Step 6: Shape and Adjust
After all 10 nails are on, check for any that feel loose or sit slightly off. If a nail isn't aligned right, gently lift it and reapply with fresh glue.
Use a nail file to smooth edges or adjust the length. File in one direction only. Filing back and forth causes the press-on to split.
How Long Do Press-On Nails Last?
With proper application:
- Nail glue: 10 to 14 days
- Adhesive tabs: 3 to 7 days
To extend the wear, keep your hands out of hot water for the first few hours after application. Wear gloves when washing dishes, and dab cuticle oil around the edges to keep your natural nails healthy underneath.
NailPop press-ons are reusable up to 3 times with proper care. When you're ready to take them off, gently lift from the cuticle edge and soak in warm soapy water.
Common Mistakes to Avoid
- Skipping the prep. Dirty or oily nails won't hold glue. Clean with alcohol first, every time.
- Using too much glue. A thin layer is enough. Extra glue just squeezes out and makes a mess.
- Not holding long enough. 30 seconds per nail. Let go too early and the bond won't set.
- Filing in both directions. This causes splitting. File in one direction.
- Applying on damp nails. Even slightly wet nails reduce adhesion. Dry completely before starting.
How to Remove Press-On Nails Safely
Don't rip or force press-ons off. That can damage your natural nails.
- Soak your hands in warm soapy water for 10 to 15 minutes
- Gently lift the edge of each press-on with an orange stick
- If it resists, soak a few more minutes and try again
- Clean off leftover glue with nail polish remover
- Apply cuticle oil to nourish your natural nails
Shop NailPop Press-On Nails
NailPop makes hand-painted press-on nails in floral, anime, and luxury collections. Each set is individually crafted with 3D art, real gems, and hand-mixed colors.
- [Floral Collection](https://www.nailpop.me/collections/floral-nails) - roses, butterflies, and garden-inspired designs
- [Anime Collection](https://www.nailpop.me/collections/anime-nails) - kawaii, Ghibli, and character-inspired nails
- [Shop All](https://www.nailpop.me/collections/all) - browse every design
Every set is reusable, comes in three sizes (short, medium, long), and ships free within the US.
TAGS: